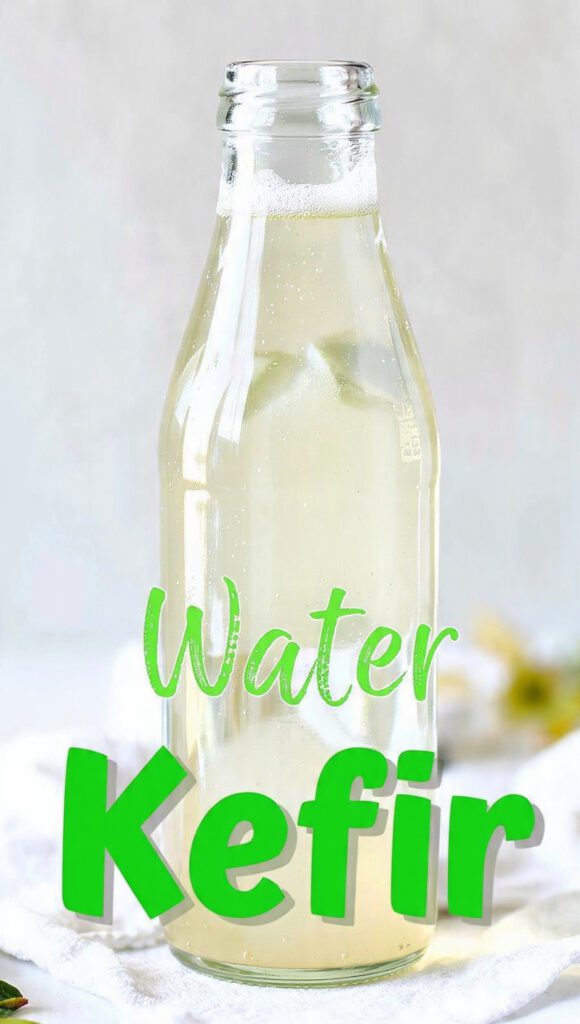
Homemade Water Kefir: The Ultimate Guide to Frying Your Soda Habit
We have all been there. You stand in the “healthy” aisle of the grocery store, staring at a bottle of artisanal sparkling probiotic tea that costs five dollars. You want the bubbles, you want the gut health, but your bank account is currently staging a violent protest. What if I told you that you could grow your own bubbly, probiotic lemonade on your kitchen counter using what looks like tiny, translucent gummy bears? Enter water kefir, the fermentation world’s best-kept secret for people who want to feel like a domestic wizard without actually doing much work.
Honestly, if you aren’t currently brewing a jar of this fizzy magic, are you even living? It is the ultimate kitchen flex: it’s cheaper than dirt, healthier than yogurt, and sparkles more than a disco ball. I once convinced a friend that these “grains” were rare sea crystals I harvested from a hidden cove. In reality, I bought them online for ten bucks and have been breeding them like tiny, sugary pets ever since. Ready to ditch the flat, overpriced store-bought stuff and embrace the fizz? 🙂
Why This Recipe is Actually Awesome
Why should you care about fermented sugar water? First off, customization is king. Store-bought sodas are packed with enough high-fructose corn syrup to preserve a mummy, but your homemade batch uses the sugar as fuel for the bacteria. You get to control the flavor—whether you want spicy ginger, tart cherry, or a “careful when you open that” level of tropical carbonation, it is your call.
TBH, the cost savings are the real hero here. Once you buy your initial set of grains, they literally last forever if you treat them nicely. You are basically printing money, but in liquid, probiotic form. It impresses guests like crazy, too. Pulling a chilled, popping bottle of your own “Wild Blueberry & Mint” blend out of the fridge makes you look like a fermentation guru who has mastered the secrets of the universe.
Our Top Pick

Papier Herb Garden Recipe Journal - Hardback Design
Capture your culinary ideas and favorite memories with this beautifully designed recipe journal. Organized sections for breakfast, lunch, dinner, and treats make it easy to record recipes, ratings, dietary notes, and cooking tips, along with measurement and conversion guides. Extra pages let you list favorite restaurants, shops, and places to try. Crafted with a premium hardback cover, luxurious 100gsm paper, and a gold foil accent, it’s both durable and stylish. Thoughtfully designed to suit any kitchen, it makes a practical, timeless gift for family, friends, or yourself.
Finally, let’s talk about that gut health. One glass of raw, homemade water kefir packs a probiotic punch that puts those expensive capsules to shame. It is the perfect afternoon pick-me-up that won’t give you a caffeine crash. Who knew being a responsible adult could involve so much satisfying, guilt-free fizz?
The Fermentation Squad: Ingredients
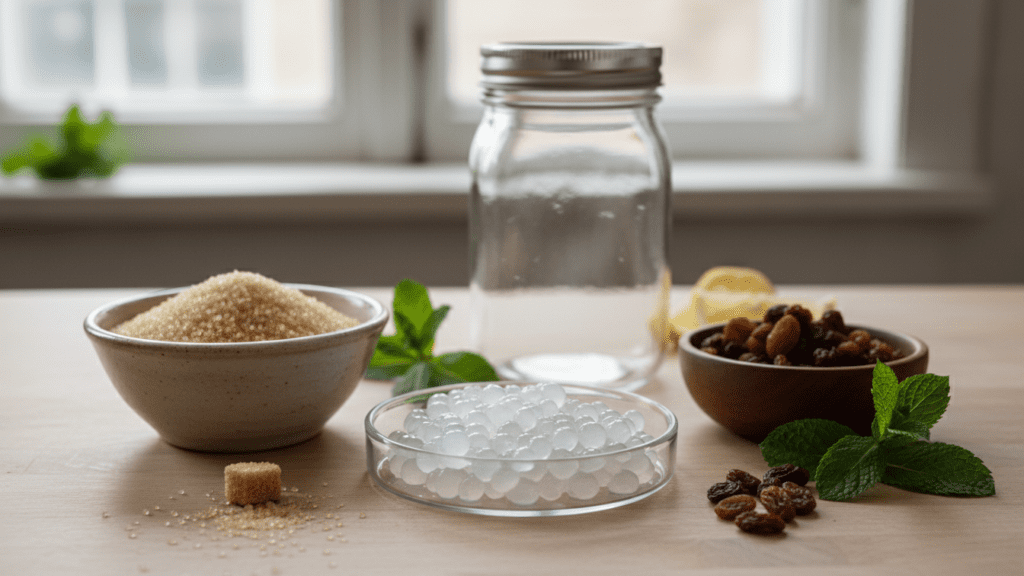
You do not need a laboratory to get started. Just grab these basics and prepare for the microbial party to begin.
- Water Kefir Grains: These aren’t actually grains (no gluten here!); they are a symbiotic colony of bacteria and yeast. Look for “live” grains online or from a generous friend.
- Sugar: Standard organic cane sugar works best. Don’t worry—the grains eat the sugar, so you don’t have to!
- Water: Use filtered, non-chlorinated water. Chlorine is the arch-nemesis of your grains.
- Mineral Booster: A tiny pinch of sea salt or a single organic raisin. Grains need minerals to grow big and strong.
- Fruit/Juice: For the “second ferment” where we add the flavor and the bubbles.
Tools & Kitchen Gadgets You’ll Need
To master the art of the brew, you need the right gear to keep things sanitary and explosive-free.
- Glass Mason Jars: One for the brew, one for the backup. Never use metal for long-term storage!
- Breathable Cover: A coffee filter or a tight-weave cloth with a rubber band. This keeps out the fruit flies while letting the grains breathe.
- Plastic Mesh Strainer: Metal can irritate the grains over time, so stick to plastic or nylon.
- Flip-Top Grolsch-Style Bottles: These are essential for building up that legendary carbonation.
- Small Funnel: Unless you enjoy mopping sticky floor juice, get a funnel.
- Kitchen Scale: To make sure your sugar-to-water ratio is perfect every time.
Step-by-Step Instructions
Step 1: The Sugar Bath
Dissolve 1/4 cup of sugar into 1 cup of hot water in your glass jar. Once dissolved, add 3 cups of cool, filtered water. Check the temperature! If the water is hot enough to burn you, it will definitely cook your grains, and that’s a tragedy we don’t need.
Step 2: Introduce the Grains
Add about 1/4 cup of water kefir grains to the jar. Toss in your mineral booster (that one lonely raisin). Cover the jar with your cloth and secure it with a rubber band.
Step 3: The First Ferment (F1)

Place the jar in a warm spot out of direct sunlight. Let it sit for 24 to 48 hours. You’ll see tiny bubbles starting to rise—that’s the sound of success. Taste it! It should be less sweet than when you started, with a slight tang.
Step 4: The Great Separation
Place your plastic strainer over a clean bowl and pour the liquid through. Save the grains! Those are your pets; put them back into a fresh batch of sugar water immediately. The liquid in the bowl is now “First Ferment” kefir.
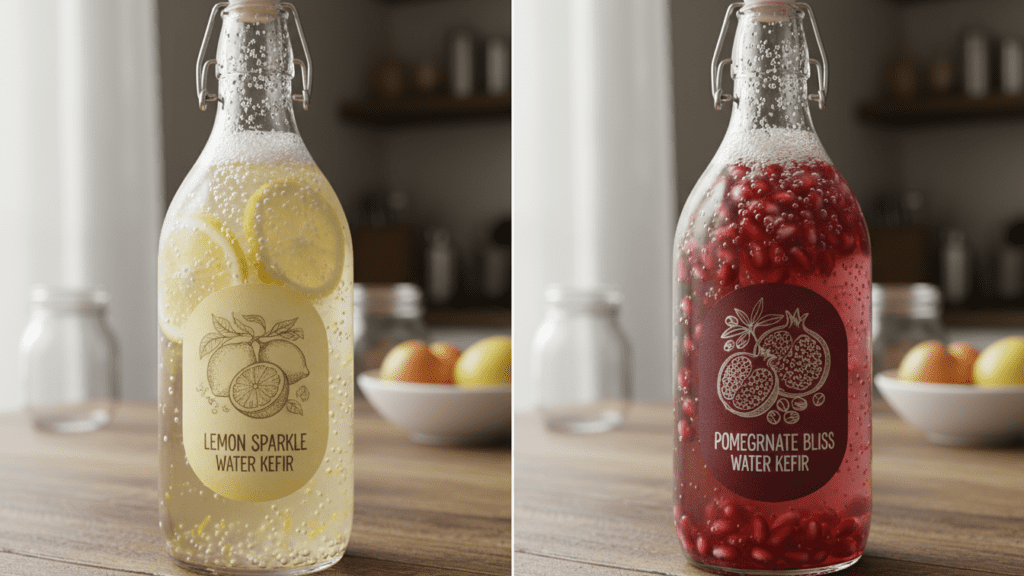
Step 5: The Flavor Party (F2)
Pour your strained kefir into your flip-top bottles using a funnel. Add your flavor: a splash of juice or a few pieces of fruit. Seal the bottles tightly and let them sit at room temperature for another 24 hours.
Our Top Pick

LuBudingJoy Blank Recipe Book
B5 Blank Recipe Book – Create and organize your favorite recipes in one beautiful place. This hardcover recipe book (10" × 7.3") features 150 blank pages and includes DIY category stickers. Designed with conversion charts, content tables, and a back pocket for loose notes.
Step 6: The Chill and Burp
Move the bottles to the fridge. Always chill before opening. Cold liquid holds carbonation better; opening a warm bottle of kefir is a great way to repaint your ceiling with fermented fruit juice. IMO, the first “pop” of a successful bottle is more satisfying than a promotion. 🙂
Calories & Nutritional Info
Kombucha’s faster, lighter cousin is the ultimate “healthy soda” alternative.
- Calories: Approximately 20-40 kcal per cup (the grains eat most of the sugar!).
- Probiotics: Contains billions of Lactobacillus and Saccharomyces strains.
- Vitamin B12: Naturally produced during the fermentation process.
- Low Sugar: Much lower glycemic index than any commercial soda or juice.
- Hydration: It’s basically super-charged water with a personality.
Common Mistakes to Avoid
- Using Distilled Water: Grains need minerals! If you use water that’s too pure, your grains will eventually shrivel up and quit. Add a pinch of sea salt if your water is very soft.
- The Metal Myth: While a quick touch won’t kill them, don’t leave grains in contact with metal for long. It can leach ions that stress them out.
- Ignoring the Clock: If you leave F1 for 4 days, you’re making vinegar. Stick to the 48-hour limit.
- The Fruit Fly Invasion: Use a coffee filter, not a loose towel. Fruit flies can smell a ferment from a mile away and they will find a way in.
- Forgeting to Burp: If your house is very warm, the pressure in F2 can build up fast. Check your bottles to make sure they don’t turn into glass grenades. TBH, a kitchen explosion is a lot less fun than it sounds. 🙂
Variations & Customizations
Feeling like a mixologist? Try these three fun spins:
The Ginger Ale Knock-off
Add freshly sliced ginger and a teaspoon of lemon juice to your F2. It’s spicy, tart, and cures a stomach ache faster than you can say “probiotics.”
The “Faux-mosa”
Mix your finished First Ferment with freshly squeezed orange juice in a bottle for 24 hours. It’s the ultimate brunch drink without the hangover.
The Lavender Lemonade
Add a few dried culinary lavender buds to your F2 bottle. It results in a sophisticated, floral drink that makes you feel like you’re at a high-end spa instead of your messy kitchen.
FAQ Section
Is water kefir as healthy as milk kefir? It contains different strains of bacteria, but it’s just as beneficial! It’s the perfect dairy-free alternative for the lactose-intolerant crowd.
Will water kefir grains grow forever? Yes! If you keep them fed and happy, they will multiply like crazy. You’ll soon be forcing jars of grains on your confused neighbors like a sourdough starter.
Does water kefir contain alcohol? Like all ferments, it contains a trace amount (usually 0.5% or less). It’s about the same as a very overripe banana, so don’t expect to get a buzz!
Why are my grains not bubbling? Your kitchen might be too cold. These microbes are basically sun-worshippers; if it’s under 65°F, they go dormant. Move them to a warmer spot like the top of the fridge.
What kind of sugar should I avoid? Avoid honey or maple syrup for the main ferment; they have antibacterial properties that can harm the grains. Stick to cane sugar or palm sugar.
How long does water kefir last in the fridge? Once bottled and chilled, it stays good for up to 2 weeks. After that, it gets very tart and might lose its fizz.
Is it safe for kids to drink? Generally, yes! It’s a fantastic low-sugar soda replacement. Just remember it has a tiny bit of natural carbonation and trace alcohol.
Final Thoughts
There you have it—you are now officially a fermentation expert. You learned how to make water kefir without turning your kitchen into a science experiment gone wrong. It’s fizzy, it’s funky, and it’s a heck of a lot better for your gut than that neon-colored sports drink you were eyeing earlier.
Go ahead, give it a shot. And hey, if your grains start multiplying so fast you have to give them names, just remember: it’s a sign of a job well done. Tag me in your fizzy bottle-opening videos—I want to see those bubbles! Happy brewing!