

The Easiest 5-Ingredient Bread That’s Practically Magic
Let’s be honest, there are two types of people in this world: people who bake their own bread, and the rest of us who just assume they are some kind of magical kitchen wizards. Baking bread seems like a huge, complicated commitment, right? It involves kneading, and proofing, and weird words like “autolyse.” Well, I’m here to shatter that illusion with a recipe so simple, so hands-off, it’s basically a magic trick. Get ready to make the most incredible, crusty, artisan-style 5-ingredient bread with almost no work at all. No kneading, no fancy equipment, no sorcery required.
Why This Recipe Is A Legit Game-Changer
So what’s the secret? How can a recipe this simple produce a loaf of bread that looks like it came from a fancy European bakery? The secret is time. This is a no-knead bread, which means you let a long, slow fermentation do all the work of developing flavor and texture for you. Your active prep time is maybe 10 minutes, tops. The rest of the time, you just get to walk away and live your life.

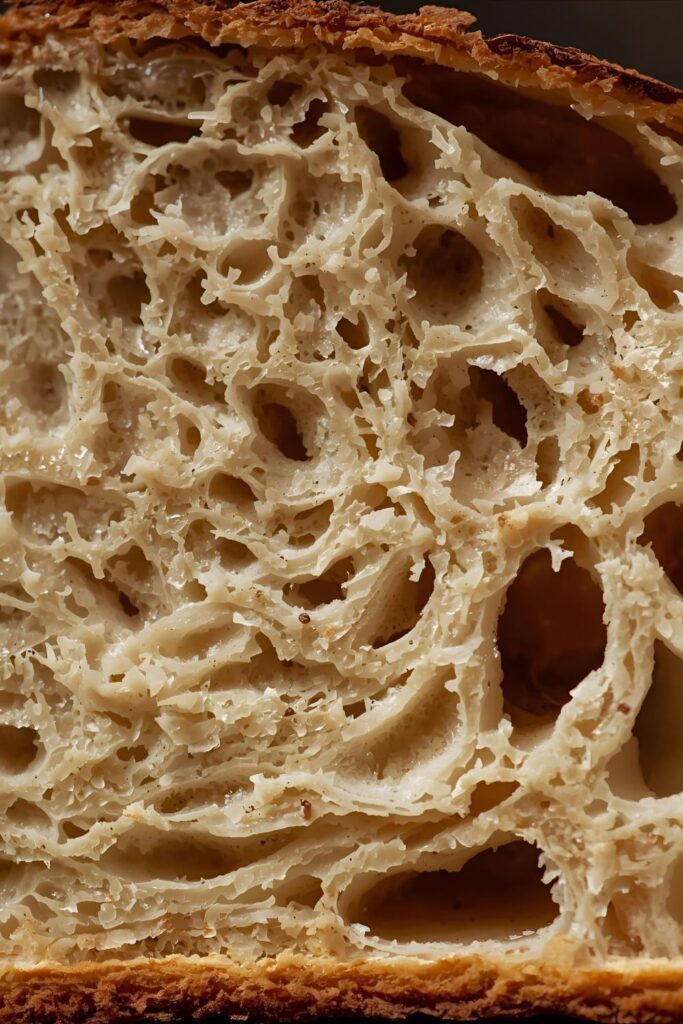
The result is nothing short of spectacular. We’re talking a deeply golden, crackly crust that sings to you when you pull it from the oven, and a soft, chewy, airy interior full of those beautiful, irregular holes. It’s the perfect bread for dipping in soup, slathering with butter, or just tearing off huge chunks of while standing over the counter. You will feel like a culinary god, and nobody needs to know your secret was just being lazy.
Ingredients
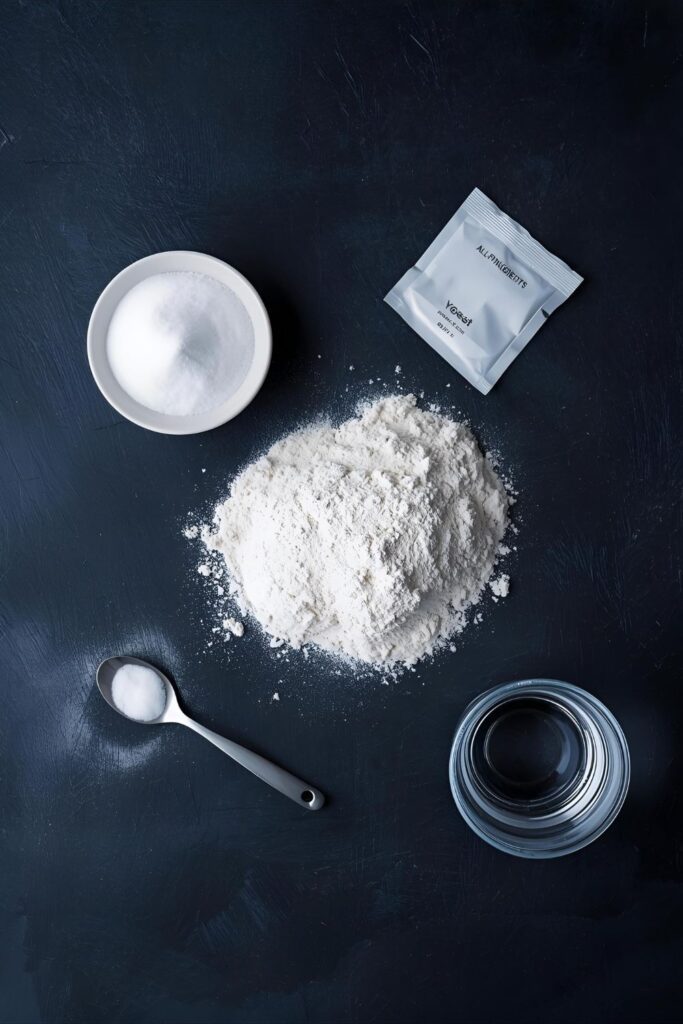
Your journey to becoming a bread wizard requires a shockingly short shopping list.
- 3 cups all-purpose flour: Plus a little extra for dusting. No need for fancy bread flour here.
- 1 ½ teaspoons salt: Crucial for flavor. Don’t skip it.
- ½ teaspoon active dry yeast: Just half a teaspoon! A little goes a long way with a long rise.
- 1 teaspoon granulated sugar: This is just a little snack to wake up the yeast and get it working.
- 1 ½ cups warm water: The temperature is key! It should be like a comfortably warm bath, about 105-115°F (40-46°C). Too hot and you’ll kill the yeast; too cold and it won’t wake up.
Substitutions
- Yeast: You can use instant yeast instead of active dry. If you do, you can skip the “blooming” step and just mix everything together at once.
- Flour: You can swap up to half of the all-purpose flour for whole wheat or bread flour for a different texture and flavor.
Tools & Kitchen Gadgets Used

While you don’t need a stand mixer or bread machine, one piece of equipment is the secret weapon for that perfect crust.
- A 5 to 6-quart Dutch Oven with a lid: This is the key to a crackly, bakery-style crust. The lid traps steam as the bread bakes, creating a humid environment that allows the crust to expand before it sets.
- A Large Mixing Bowl: For your dough to live in while it does its magical, slow-rising thing.
- A Spatula or Wooden Spoon: For the 60 seconds of stirring this recipe requires.
- Parchment Paper: Makes transferring the dough into the screaming hot Dutch oven much easier and safer.
Step-by-Step Instructions
Get ready for the least amount of work you’ve ever done for the greatest reward.
Step 1: Wake Up the Yeast
In your large mixing bowl, combine the warm water, sugar, and yeast. Give it a gentle stir and then let it sit for 5-10 minutes. You should see it get foamy or bubbly on the surface. This is called “blooming,” and it’s how you know your yeast is alive and ready to party. If nothing happens, your yeast might be dead (RIP), and you’ll need to start over.
Step 2: Mix Your Shaggy Dough
Once your yeast is bubbly, add the flour and salt to the bowl. Use your spatula or a wooden spoon to mix everything together until just combined. You’re looking for a shaggy, sticky, messy ball of dough. Do not knead it! Just make sure there are no dry patches of flour left.
Step 3: The Long, Lazy Rise
Cover the bowl with plastic wrap or a clean kitchen towel. Now, walk away. Just leave the bowl on your counter at room temperature for 12 to 18 hours. Yes, that long. During this time, the yeast will work its slow magic, developing amazing flavor and creating a beautiful gluten structure all on its own.
Step 4: A Quick Shape and a Short Nap
After 12-18 hours, your dough will be bubbly and more than doubled in size. Lightly flour a work surface and scrape the very sticky dough out of the bowl. Gently fold the dough over on itself a couple of times to form a rough ball. Place it on a piece of parchment paper, cover it with the towel, and let it rest for another 30 minutes.
Step 5: Preheat Everything
While the dough is having its final nap, place your empty Dutch oven with the lid on into your oven. Preheat the oven to 450°F (230°C). It is absolutely crucial that the Dutch oven gets screaming hot.
Step 6: Bake the Bread
Once the oven and Dutch oven are fully preheated, carefully remove the hot pot from the oven. Using the parchment paper as handles, lift your dough and carefully lower it into the Dutch oven. Put the lid back on and bake for 30 minutes.
Step 7: Get That Golden Crust
After 30 minutes, remove the lid. The bread will be pale but fully risen. Continue to bake, uncovered, for another 15-20 minutes, or until the crust is a deep, gorgeous golden-brown.
Step 8: Cool Down (The Hardest Part)
Carefully remove the bread from the Dutch oven and place it on a wire rack to cool. You must, must, must let it cool for at least an hour before slicing. Slicing into hot bread can ruin the interior texture. I know it’s torture, but you can do it.
Calories & Nutritional Info
Here’s a rough estimate per slice, assuming you get about 10-12 slices from the loaf.
- Calories: Approximately 130-150 kcal
- Protein: About 4g
- Fat: Less than 1g
- Carbohydrates: Roughly 28-32g
Nutritional Note: This is simple, wholesome bread made from the most basic ingredients. It’s free from the preservatives and additives found in many store-bought loaves.
Common Mistakes to Avoid
A few things that can stand between you and the perfect loaf.
- Killing Your Yeast: Using water that is too hot is the #1 yeast-killer. If it’s too hot for your finger, it’s too hot for the yeast. Lukewarm is the magic word.
- Not Preheating the Dutch Oven: A cold Dutch oven will not give you the “oven spring” (that initial puff of rising) needed for a light, airy crumb and a crispy crust. A screaming hot pot is non-negotiable.
- Not Giving it Enough Time to Rise: This recipe’s magic is in the long, slow fermentation. If you cut the rising time short, you’ll have a dense, bland loaf. Be patient!
- Slicing it While It’s Hot: I know it’s tempting, but cutting into bread straight from the oven releases steam and can make the interior gummy and dense. Let it cool completely for the best texture.
Variations & Customizations
Once you’ve mastered the basic loaf, it’s time to get creative.
- Rosemary Sea Salt: When you add the flour and salt, mix in 1 tablespoon of chopped fresh rosemary. Before the final bake, brush the top with a little olive oil and sprinkle with flaky sea salt.
- Cheddar & Black Pepper: During the shaping step, gently fold in 1 cup of shredded sharp cheddar cheese and 1 teaspoon of coarsely ground black pepper.
- Cinnamon Raisin Swirl: When you shape the dough, gently flatten it into a rectangle. Sprinkle generously with cinnamon and a handful of raisins. Roll it up into a log before placing it on the parchment paper for its final rest.
FAQ Section
Let’s answer the big questions about your new favorite bread recipe.
What if I don’t have a Dutch oven?
You can still make great bread! You can use any heavy-bottomed pot with an oven-safe lid. If you don’t have that, you can bake it on a pizza stone or a heavy baking sheet. To mimic the steam of a Dutch oven, place a shallow pan of hot water on the rack below the bread as it bakes.
How do I know if my yeast is good?
The blooming step is your test! If the yeast, warm water, and sugar mixture gets foamy and smells, well, yeasty after 5-10 minutes, your yeast is alive and well. If it just sits there looking sad, your yeast has passed on.
Can I use this recipe to make rolls?
Yes! After the first long rise, divide the dough into 8-10 smaller pieces, shape them into balls, and let them rest for 30 minutes. Bake them in the hot Dutch oven (you’ll need to reduce the baking time) or on a baking sheet.
Can I let the dough rise in the fridge?
Yes, you can! A slow, cold rise in the refrigerator (for 1-3 days) can develop even more complex, sourdough-like flavors. You may need to let it sit at room temperature for an hour or two before shaping.
Why is my dough so sticky?
This is a high-hydration dough, which means it has a lot of water relative to the flour. The stickiness is normal and is what helps create the open, airy crumb. Use a light touch and plenty of flour on your hands and work surface during the shaping step.
Can I add seeds or grains?
Absolutely. Mix in things like sunflower seeds, pumpkin seeds, or rolled oats when you add the flour and salt for extra texture and flavor.
How should I store this bread?
Store it at room temperature in a paper bag or a bread box for 2-3 days. Avoid storing it in a plastic bag, which can trap moisture and make the crust soft. You can also slice it and freeze it for later.
Final Thoughts
You did it. You are now officially a bread baker. You took five simple ingredients and, with the magic of time and heat, transformed them into a magnificent, crusty loaf of bread. Your home smells amazing, your friends are impressed, and you’ll never look at that sad, plastic-wrapped bread in the grocery store the same way again. So go ahead, slather a warm slice with butter and take a bite. You earned it.

