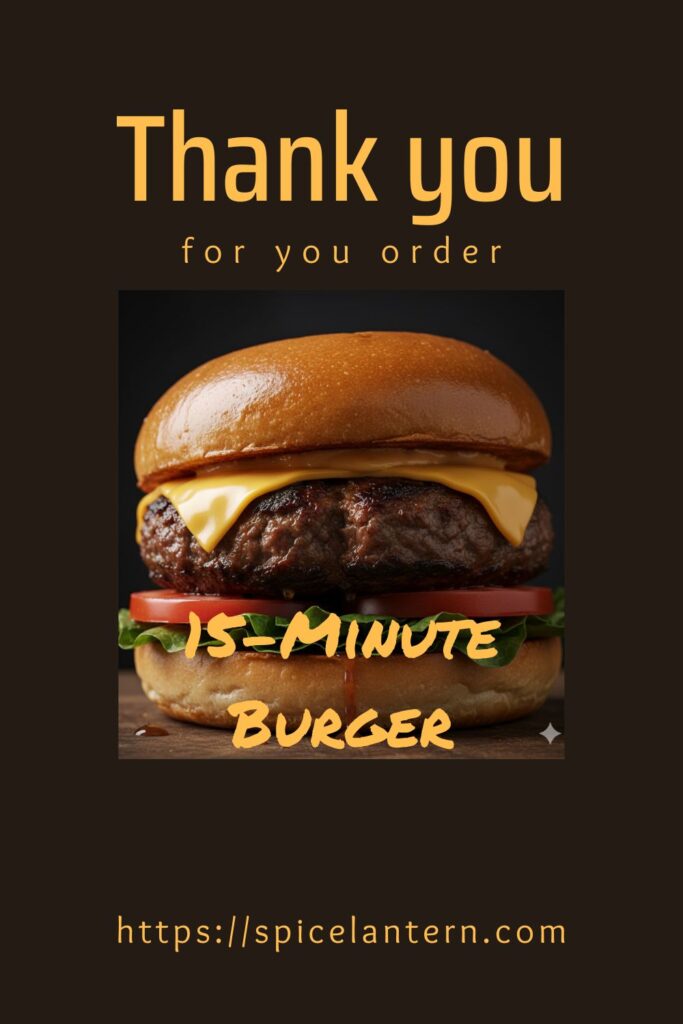
Ditch the Drive-Thru: Your Guide to the 15-Minute Burger Masterpiece
Let’s talk fast food. You crave that juicy, savory hit of a great burger, but you absolutely do not have time for grilling, fussing, or waiting in line behind three soccer moms. Who needs all that drama? I’m here to give you the ultimate shortcut: the 15-Minute Burger. This isn’t some thin, sad, pressed fast-food patty; this is a thick, perfectly seared, juicy masterpiece that you make in a regular skillet in your kitchen. We demand gourmet results at lightning speed. Why settle for lukewarm takeout when you can have a hot, customized burger faster than the delivery driver can find your apartment?
Why This Recipe Is Awesome (It’s Pure Weeknight Genius)

This recipe isn’t just a meal; it’s a statement. You are proving that speed doesn’t equal sadness.
- Real 15-Minute Total Time: We use high-fat meat, a screaming hot skillet (cast iron is my favorite!), and strategic toasting to cut the cook time down to less than ten minutes. The remaining time is for assembly and admiring your work.
- The Crusty Sear: We are aiming for a deeply browned, crusty exterior—that coveted Maillard reaction—that locks the juices inside. Forget gray, boiled burgers. We want flavor.
- Juice Control: The secret is high-fat ground beef and a simple hands-off cooking method. No squeezing, no over-handling. We keep the moisture where it belongs: inside the patty.
Ingredients: The Essentials for Maximum Flavor

Keep it simple. A great burger needs very little, but the quality of the beef matters, IMO.
- ½ pound (227g) Ground Beef (80/20 blend): The 80/20 ratio (80% lean, 20% fat) is crucial for juiciness. Don’t go too lean unless you enjoy shoe leather. This makes two medium-sized patties.
- 2 Burger Buns (Brioche or Potato Buns are superior): Soft, sturdy, and ready for toasting.
- 2 slices Cheese (Cheddar, American, or Provolone): American melts best, but use what you love.
- Salt and Freshly Cracked Black Pepper: Liberally season the exterior!
- Optional Toppings: Lettuce, tomato, onion, pickles. Prep these before you start cooking!
- Butter or Neutral Oil: For toasting the buns and searing the patty (if needed).

Key Substitutions:
- Ground Beef: You can substitute with ground turkey or chicken, but you must add a binder (like a tablespoon of mayo or a few breadcrumbs) and oil to compensate for the lower fat content.
- Buns: Use large portobello mushroom caps or lettuce wraps for a low-carb, keto-friendly version.
- Cheese: Swap for pepper jack for a spicy kick.
Tools & Kitchen Gadgets Used: Your Speedy Searing Setup
A hot surface is your best friend here.
- Large Mixing Bowl: For gently combining the meat (though minimal handling is preferred).
- Digital Food Scale (Optional, but helps for consistency): To ensure your patties are the same size for even cooking.
- Cast Iron Skillet or Heavy-Bottomed Frying Pan: MANDATORY. Heavy metal holds heat, giving you that great crust.
- Wide, Sturdy Spatula: For flipping and, optionally, smashing (if you go the smashburger route).
- Meat Thermometer (Instant-Read): The only way to guarantee doneness without cutting the patty.
- Small Plate/Wire Rack: For resting the finished burgers.
Step-by-Step Instructions: The High-Heat Hustle
Read this section quickly. Speed and heat are essential for the 15-minute burger!
Step 1: Prep the Patty and Pan (3 Minutes)
- Form Gently: Divide your ground beef into two equal portions. Gently form each into a patty about ¾-inch thick. Make a slight dimple/indentation in the center with your thumb—this prevents the patty from bulging into a football shape when cooked.
- Keep it Cold: Try to handle the meat as little as possible to keep the fat cold.
- Heat the Pan: Place your cast iron skillet over medium-high heat and let it preheat for 3-5 minutes. It needs to be smoking hot!
Step 2: Toast the Buns (2 Minutes)
- While the pan is heating, lightly butter the cut sides of your buns.
- Toss them into the hot, dry skillet (or a separate pan) for about 60 seconds until they are perfectly golden brown. Toasting the buns prevents sogginess and adds great texture. Remove them immediately.
Step 3: Sear the Meat (5 Minutes)
- Season Liberally: Right before the patties hit the pan, season the top side aggressively with salt and pepper.
- Sear: Place the patties, seasoned side down, onto the hot, dry skillet (or add a tiny bit of oil if using lean meat).
- Season the other side immediately. DO NOT PRESS DOWN YET! You’re just seasoning.
- Cook for 2-3 minutes until a dark brown crust forms. Flip the patties.
Step 4: Melt and Finish (3 Minutes)
- Place a slice of cheese immediately on top of each patty.
- Optional Steam: Place a lid or a metal bowl over the patties for the final minute of cooking. This traps heat and steam, melting the cheese perfectly and ensuring the patty cooks through.
- Cook for another 2 minutes for a nice medium doneness (Internal temp: 140-145°F). Use a thermometer!
Step 5: Rest and Assemble (2 Minutes)
- Remove the burgers from the pan and let them rest on a clean plate or wire rack for 2 minutes. Resting is crucial—it allows the juices to redistribute back into the meat. Cutting it too soon results in a dry mess.
- Assemble your burger: bottom bun, condiments, resting patty, toppings, top bun. Dinner is served!
Calories & Nutritional Info: The Delicious Truth (Estimated)

These are estimates for one 1/4lb (113g) burger patty on a bun with cheese (no condiments/veg).
- Calories per serving (1 Burger with Cheese/Bun): ~450-550 calories
- Protein: ~25-35g (Excellent source of complete protein!)
- Fat: ~25-35g (Using 80/20 beef provides healthy fats and juiciness.)
- Carbohydrates: ~25-30g (Mostly from the bun.)
- Nutritional Note: Choose a leaner blend (like 90/10) to reduce fat, but be warned: you will sacrifice some juiciness and flavor.
Common Mistakes to Avoid: Burger Blunders
Avoid these classic errors that turn a masterpiece into a disaster. You’re better than that.
- Overworking the Meat: Mixing or shaping the meat too much makes it compact, squeezing out juices, which results in a tough, dry, dense patty. Handle the beef gently and minimally.
- Salting Too Early: Salt draws moisture out. Salting the meat before forming the patties or hours ahead of time can dry out the exterior and prevent a good sear. Season aggressively right before it hits the hot pan!
- The Squeeze/Press: DO NOT press down on the patty with your spatula while it cooks! This releases all the precious fat and moisture into the pan, leaving you with a dry, flavorless hockey puck. Let the fat stay in the meat!
- Using a Cold Pan: A cold pan leads to slow cooking and steaming, which results in a gray, bland exterior. Preheat the cast iron skillet until it’s smoking hot for an immediate, beautiful sear.
- Cutting to Check Doneness: Use a meat thermometer, you savage! Cutting the patty releases all the internal juices, leaving the burger dry. Aim for 140°F-145°F (Medium) before resting.
Variations & Customizations: Your Burger Blueprint
The beauty of a burger is its versatility. Start with this base, and get creative!
- The Smashburger Speed Run (Keto Friendly): Form the beef into smaller, 3oz balls. Place them on the hot skillet and smash them flat immediately with a stiff spatula. Cook for 90 seconds, scrape, flip, cheese, and done! Serve in lettuce wraps to keep it keto.
- The Umami Bomb: Mix 1 teaspoon of Worcestershire sauce and ½ teaspoon of garlic powder gently into the ground beef before forming the patties. Top with sautéed mushrooms and Swiss cheese.
- The Turkey Burger Upgrade: Use ground turkey (93/7 blend). Mix in 2 tablespoons of finely minced onion and 1 tablespoon of mayo before forming the patties. The mayo adds fat and moisture, combating turkey’s natural dryness.
FAQ Section: The Burning Burger Questions
You’ve got questions about patties and searing. I’m here for the answers.
Q1: Should I put egg or breadcrumbs in my burger patties?
A: No, not usually. High-quality ground beef (80/20) doesn’t need a binder. Adding egg or breadcrumbs technically turns your burger into a meatloaf sandwich. Keep it pure for a classic texture.
Q2: What is the best type of meat to use for a juicy burger?
A: 80/20 Ground Beef (80% lean, 20% fat), often sold as ground chuck. The fat melts during cooking, basting the muscle fibers and ensuring maximum juiciness.
Q3: Why did my burger shrink and puff up in the middle?
A: This happens because the fat cooks out and the heat causes the muscle fibers to contract. The solution: Press a slight dimple/crater into the center of the raw patty before cooking. This balances the contraction and keeps the shape flat.
Q4: How do I get a good sear on my burger?
A: Heat! Use a cast iron skillet or heavy pan and preheat it on medium-high until it’s very hot. A hot pan immediately sears the meat, creating the desirable brown crust.
Q5: Is it safe to eat a burger that’s medium-rare?
A: The USDA recommends cooking ground meat (beef, pork, turkey) to 160°F (well done) to eliminate bacteria present on the surface that can get mixed in during grinding. You must weigh the risk against your preference for juiciness. Cook to 140-145°F (medium) at your own risk, but use very fresh, high-quality meat.
Q6: How long should I rest the cooked burger?
A: Rest the patty for 1-2 minutes after taking it off the heat. This allows the internal juices, which were pushed to the center by the heat, to redistribute throughout the meat, resulting in a juicier bite.
Q7: Should I use butter or oil for cooking?
A: For high-heat searing, use a neutral oil with a high smoke point (like canola or avocado oil) or clarified butter (ghee). Regular butter burns too easily at the high temperatures needed for a quick sear.
Final Thoughts: The Taste of Victory
You just created a ridiculously delicious, perfectly seared burger in the time it takes to decide what to watch on streaming. You mastered the 15-Minute Burger and defeated the soggy, gray patty once and for all. Go ahead, take that glorious, messy bite. You’re too good for the drive-thru now.